

How to Build a Progress-Photo Timeline That Actually Shows Change
A progress-photo timeline works when the camera, pose, lighting, and comparison windows stay consistent. Use this 2-, 4-, 8-, and 12-week setup.
By Reset90 AI Editorial Team
Short answer: A progress-photo timeline shows real change when the photos are comparable, not merely consecutive. Use the same camera position, distance, lighting, clothing style, posture, and pose sequence. Keep relaxed photos as the evidence layer, compare them at 2, 4, 8, and 12 weeks, and use flexed or lifestyle photos as context rather than replacements for the baseline.

01What makes a progress-photo timeline useful
A camera roll is not automatically a timeline. It may contain dozens of gym photos, but if every image uses a different angle, mirror, outfit, pose, and lighting setup, the sequence can make normal photography changes look like body change.
A useful timeline does three things:
- It captures comparable evidence. The same person, view, and setup can be compared without guessing what changed in the camera.
- It preserves context. Dates, training blocks, body-weight trends, and notes explain what happened between two images.
- It supports a decision. The timeline helps you keep a plan steady, review adherence, or choose one adjustment instead of reacting to a single photo.
Photos are especially useful when the scale is noisy or when muscle gain and fat loss happen at the same time. They are still visual evidence, not a clinical body-composition measurement. The goal is to make the visual evidence more honest and more repeatable.
02Choose the job before you choose the format
Every progress photo can serve a different job. Decide which job matters before you build the routine.
Evidence photos are relaxed, repeatable, and a little boring. They use the same front, side, and back positions so you can compare the shape of the body over time.
Motivation photos can be flexed, better lit, or taken after a workout. They are allowed to look good. Just label them honestly and never compare a flexed, pumped image against a relaxed baseline as if the camera conditions were identical.
Context photos show how clothes fit or how your physique reads in an ordinary setting. A consistent lifestyle pose can be valuable, but it should supplement the evidence set rather than replace it.
This separation prevents a common mistake: choosing the most flattering photo from each month and calling the collection a measurement. A timeline should be able to show both good days and ordinary days.
03Build the capture station once
The easiest way to improve a photo timeline is to remove decisions from the day you take the photo. Set up the room once and make the next check-in repeatable.
- Use a stable support. A tripod, shelf, or fixed stand is more consistent than a handheld mirror selfie.
- Mark the phone position. Put a small removable marker on the floor so the camera distance stays close to the same.
- Keep the camera level. Use the same height, lens, zoom, and orientation. A wide lens held too close can change body proportions.
- Choose a simple background. A plain wall and visible floor line make alignment easier than a cluttered room.
- Use a timer or remote. Your arms should be in the same position rather than holding the phone in one of the frames.
- Keep the light predictable. Even light is better than a dramatic overhead shadow that appears only on one check-in.
A practical progress-photo setup guide makes the same basic point: a tripod or fixed phone position, a timer, a plain background, and consistent light make the comparison more honest. That tool is a product reference, not a scientific standard, but the setup principles are useful regardless of which app you use.
04Use a small pose set
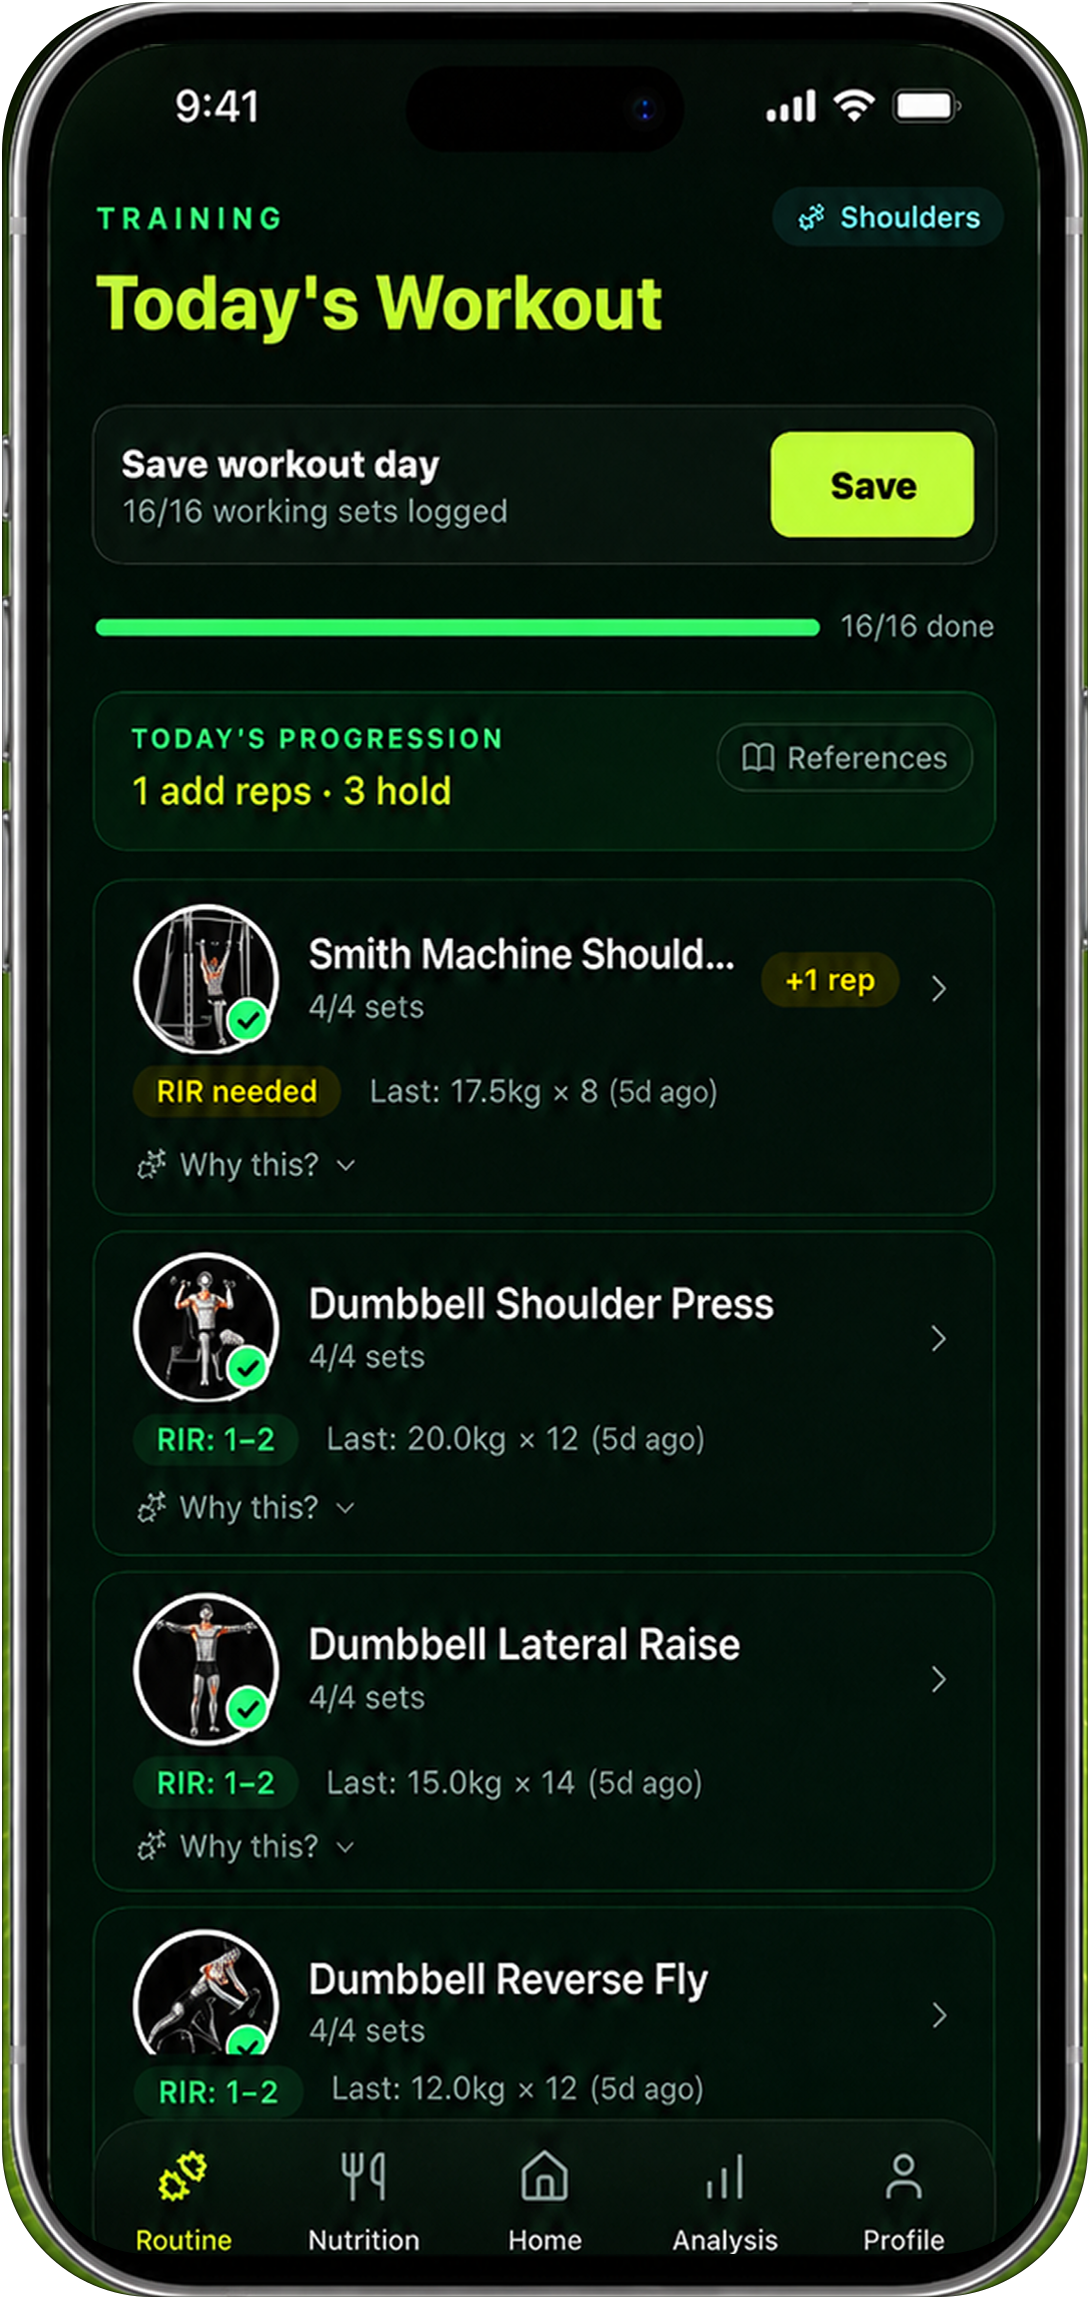
You do not need a dozen angles. A small fixed sequence is easier to repeat and less likely to become a body-checking ritual.
| Pose | What it can show | Rule for comparison |
|---|---|---|
| Relaxed front | Overall outline, shoulders, waist, posture, and how the body reads straight on | Arms at the sides, normal breathing, no bracing or flexing |
| Relaxed side | Midsection profile, pelvic position, posture, and changes hidden from the front | Turn 90 degrees; do not twist toward the camera or suck in |
| Relaxed back | Upper-back width, shoulders, posture, and changes you cannot see in a mirror | Face away, let the arms hang, and keep the same foot position |
| Front flexed | Muscle detail and a motivational view | Compare only with another flexed photo using the same flex and lighting |
| Lifestyle | How change reads in ordinary clothes | Optional; repeat the same outfit style and natural stance |
Three relaxed poses are the practical minimum. Add a flexed or lifestyle frame only if it makes the routine more useful rather than more compulsive. GainFrame’s progress-photo pose guide also separates relaxed baseline views from a flexed motivation shot. That distinction is more important than the number of poses.
05Standardize time, clothing, and posture
Body shape changes throughout the day. Food volume, hydration, training pump, temperature, and posture can all change the image without changing your long-term progress.
Pick a repeatable window, such as a morning check-in before training and before a large meal. You do not need the same minute every time, but you should avoid comparing a relaxed morning photo with a post-workout pump photo and drawing a precise conclusion.
Use a similar clothing style that leaves the relevant outline visible. Keep the waistband, shorts, and shirt length consistent when possible. Stand naturally, breathe normally, and keep your feet on the same floor marks. Do not tighten your abs or pull your shoulders back more each month to create a better result.
Make a one-line note when the conditions are unusual: “after late dinner,” “post-workout,” “different room,” or “poor sleep.” The note does not invalidate the photo; it tells you how much confidence to place in it.
06Turn an existing camera roll into a timeline
You do not have to start from zero. Older photos can become useful if you sort them by what they can honestly support.
- Collect the candidates. Search by date, album, or location and place possible front, side, and back images in a temporary folder.
- Group by view. Do not put a side pose between two front poses just because it was taken on the same day.
- Label the conditions. Mark relaxed, flexed, post-workout, mirror, or unknown. Unknown is a valid label; it means lower-confidence evidence.
- Choose anchor dates. Select the clearest comparable set at the start, middle, and most recent point of the period.
- Keep originals. Use copies for cropping and alignment so you can revisit the original context later.
Importing old photos is valuable when your progress already exists in the camera roll but has never been organized. It is also a reminder not to overpromise: an irregular first set can still tell a story, but the confidence level is lower until you establish a consistent new routine.
07Align before you compare
Side-by-side comparison is only fair when the body occupies a similar part of the frame. Before judging the result, align the horizon, feet, head position, camera height, and crop.
A simple overlay can expose camera drift. If the floor line moves, the shoulders sit at a different height, or one photo is tilted, fix the frame before interpreting the waist or silhouette. Do not stretch one image to force the body proportions to match; crop and position consistently instead.
Research on photographic posture assessment has found that standardized image procedures can produce repeatable measurements, while other studies show that positioning and technical errors can create meaningful variability. A PubMed-indexed photogrammetry study found good repeatability for several posture variables under a controlled protocol, but that does not prove that casual gym photos measure body composition. It supports the narrower lesson: standardization makes visual comparison more defensible.
08Compare at two, four, eight, and twelve weeks
Different comparison windows answer different questions. Use the shorter windows for adherence and the longer windows for visible change.
| Window | Best question | How to read it |
|---|---|---|
| Two weeks | Did I establish the routine? | Check whether the setup, pose, and cadence are repeatable; avoid body-change conclusions |
| Four weeks | Is the plan producing an early directional signal? | Review photos with waist, weight trend, training, and adherence notes |
| Eight weeks | Is the direction becoming visible? | Compare matching relaxed poses and look for consistent changes across angles |
| Twelve weeks | Did the block create a meaningful visual difference? | Use the full timeline and record what training and nutrition choices accompanied it |
Weekly or biweekly captures are usually enough. Daily photos can create more opportunities to notice noise than progress. If you feel pulled toward checking repeatedly, reduce the frequency and keep the timeline focused on decisions rather than reassurance.
09Read a timeline without overclaiming
A good photo timeline can show that your outline, posture, muscle visibility, or clothing fit changed. It cannot tell you exactly how much fat or muscle changed, and it cannot explain every cause of a visual difference.
Use three confidence levels:
- High visual confidence: matching relaxed poses, same setup, multiple angles, and a consistent change across several dates.
- Medium visual confidence: the change appears in the same pose, but lighting, clothing, or camera distance varies.
- Low visual confidence: the comparison uses different poses, a mirror selfie, a pump, dramatic lighting, or photos with missing dates.
Then cross-check the timeline with the signals that answer different questions: weekly average weight, waist measurement, training performance, nutrition adherence, and how clothes fit. Our body-recomposition tracker guide explains how to combine those signals when the scale barely moves.
10How Reset90 can become the evidence layer
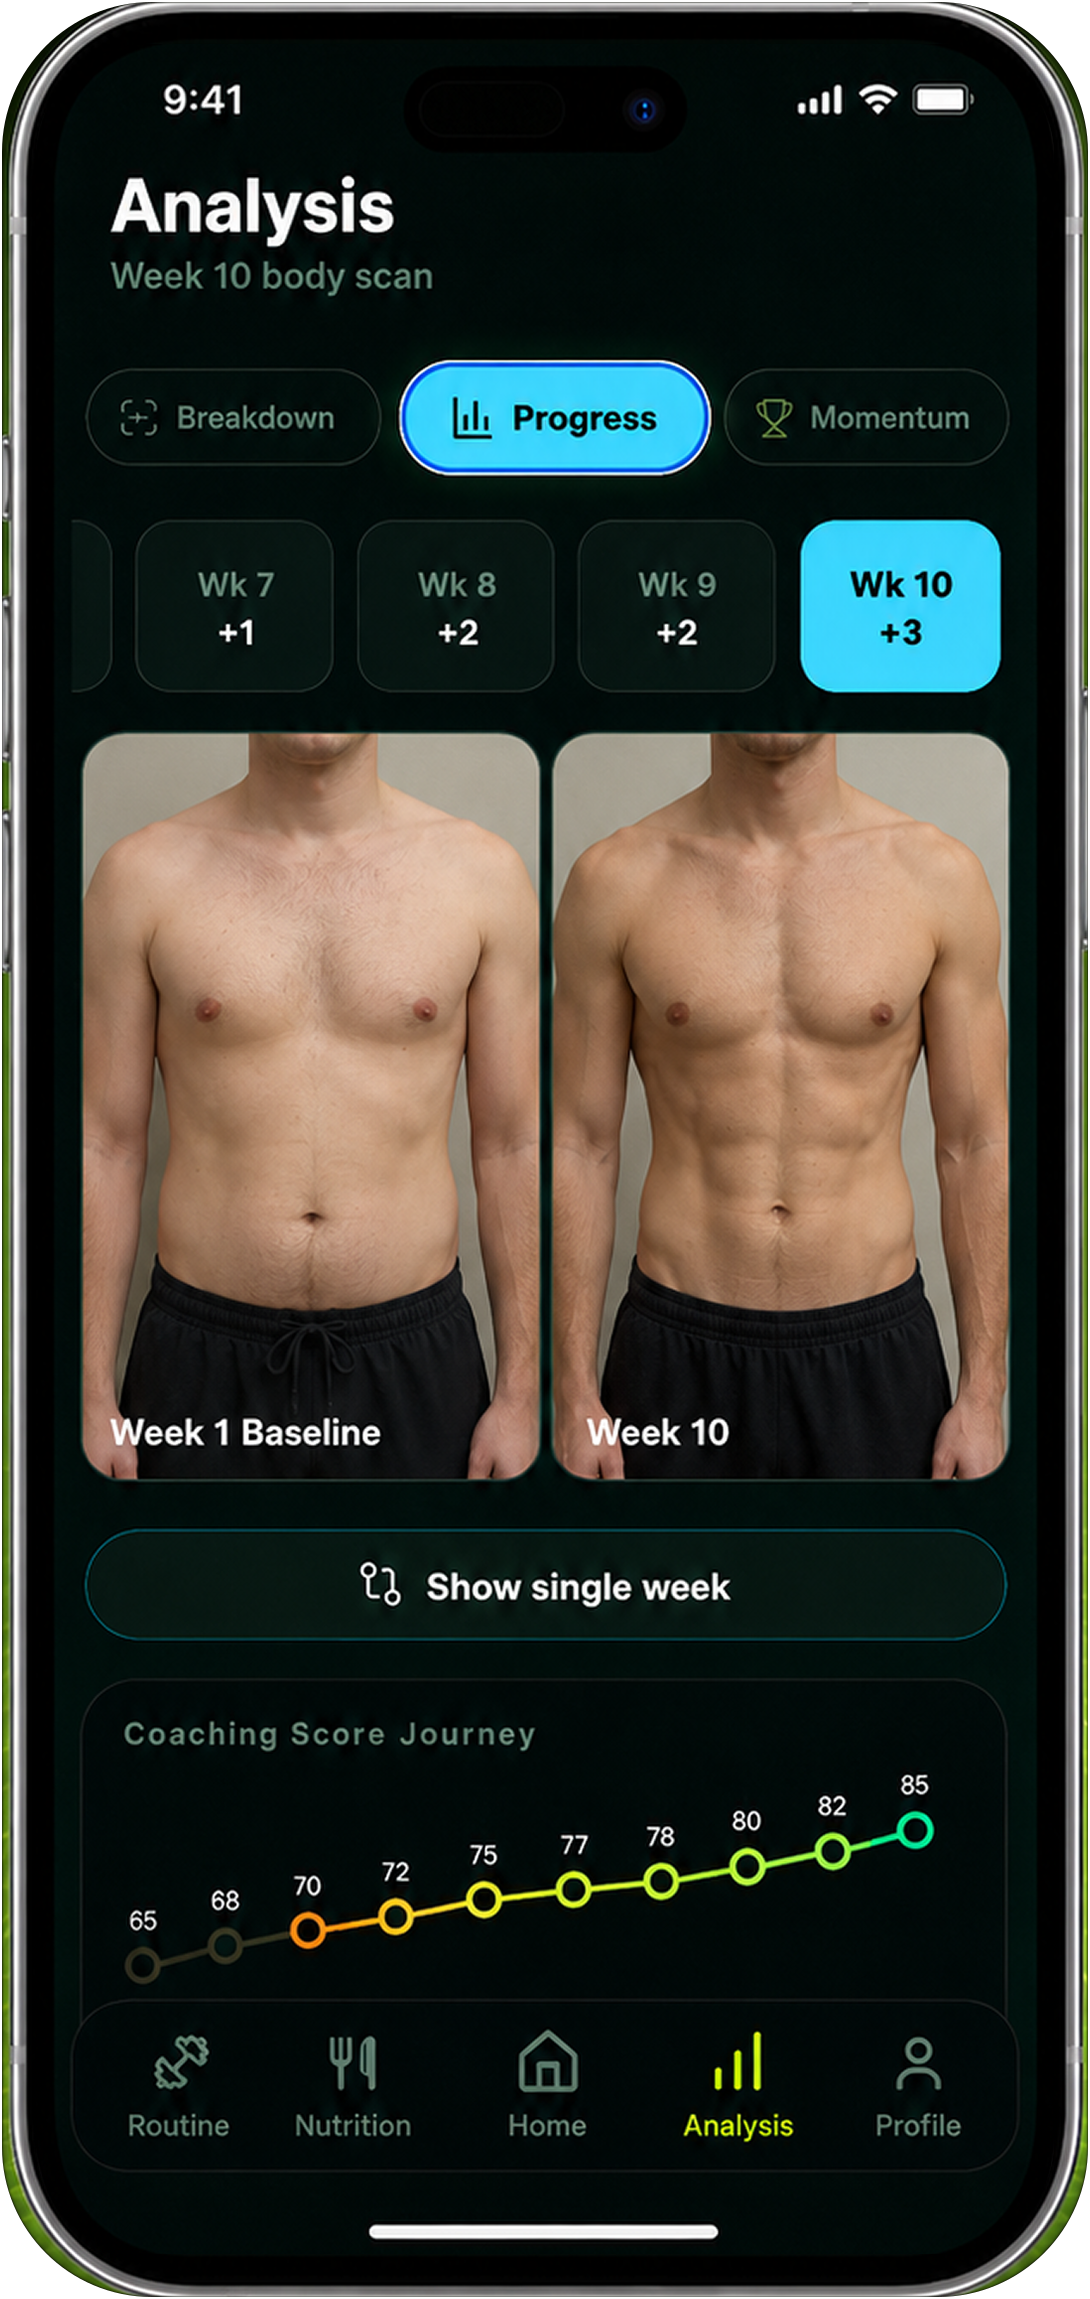
Reset90 can use a consistent visual check-in as the evidence layer inside a 90-day training and nutrition plan. The value is not a promise that a phone photo replaces a clinical measurement. The value is making the same question easier to ask every week: what changed, what did I do, and what should I keep or adjust?
Keep the timeline connected to the plan that produced it. Add a short note about training consistency, nutrition adherence, sleep, and the next action. A photo that never changes a decision is just storage; a photo that helps you review a block becomes useful feedback.
If you are choosing a product rather than building a routine, compare the category in our guide to free progress-photo apps. If you want a one-time visual analysis, the AI skin tool serves a different job from a longitudinal progress timeline. Do not confuse a single result with a history.
11Protect privacy and body image
Progress photos are sensitive personal data. Before uploading them, read the app’s current privacy policy and understand whether images are stored, analyzed on-device, shared with service providers, or used to improve models. Use a private account, a strong device passcode, and a product that gives you a clear deletion path.
Avoid putting your full name, home address, workplace, or recognizable background in the frame. Do not post identifiable before-and-after photos publicly just because a challenge asks for them. If you are taking photos for someone else, get their explicit consent and agree on storage and deletion before sharing.
Tracking can also become unhelpful when it turns into repeated checking, distress about normal fluctuations, or pressure to keep photographing a body you are avoiding living in. Take a break, reduce the frequency, and seek support if the routine is worsening body-image distress or eating behaviors. The timeline should serve your health and training goals, not control your day.
12Common progress-photo mistakes
- Changing the camera each month: a higher or closer phone can change the apparent waist and leg proportions.
- Flexing the baseline: a slightly stronger brace or shoulder position can fake a large improvement later.
- Comparing different poses: a relaxed side photo and a front flexed photo answer different questions.
- Using dramatic light: shadows can create definition that disappears in neutral light.
- Checking too often: daily changes in food, water, and posture are not a long-term trend.
- Editing the evidence: filters, selective crops, and body-shaping tools make the timeline impossible to trust.
- Deleting ordinary days: keeping only the best-looking image removes the context that makes a timeline honest.
13Frequently asked questions
How often should I take progress photos?
Weekly or every two weeks is a practical range. Use the same setup and review longer windows such as four, eight, and twelve weeks instead of judging every new image.
Should progress photos be flexed or relaxed?
Use relaxed front, side, and back photos as the primary evidence set. Add a flexed photo for motivation, but compare it only with another flexed photo taken under similar conditions.
What is the best pose for a progress photo?
There is no single best pose. A relaxed front, side, and back sequence covers more useful information than one flattering angle. The best pose is the one you can repeat without changing the conditions.
Can progress photos prove I gained muscle or lost fat?
They can show a consistent visual change, but they cannot prove an exact amount of fat or muscle change. Combine photos with strength, waist, weight trend, and nutrition context.
Can Reset90 replace a clinical body-composition test?
No. Reset90 is a fitness and nutrition planning tool. Its visual check-in can support a repeatable progress timeline, but it is not a medical device or diagnostic service.
14The practical answer
Turn random gym photos into a timeline by making the camera boring: same distance, same height, same light, same pose order, and same relaxed posture. Keep the first two weeks focused on building the routine, then compare matching views at four, eight, and twelve weeks.
When the images are comparable, they can show a kind of progress the scale misses. When they are not, they are still memories—but they are not reliable evidence. Build the evidence layer first, connect it to your training and nutrition plan, and let the timeline help you make calmer decisions.
The Reset90 system
Useful ideas for building a body you can keep.
Training notes, product updates, and practical ways to make your next 90 days count.
Start your next 90 days
Get your daily training, nutrition, and check-in priorities in one adaptive system.


Keep reading
Related articles

Ideal Body Measurements for Women
There is no single ideal body measurement set for women. Learn how averages, waist-to-height, body shape and repeatable tracking fit together without chasing a fixed beauty standard.
Read article
Bulk, Cut, or Recomp? A Practical Decision Guide
A practical way to choose a bulk, cut, recomp, or maintenance phase using your goal, training age, recovery, and repeatable progress signals.
Read article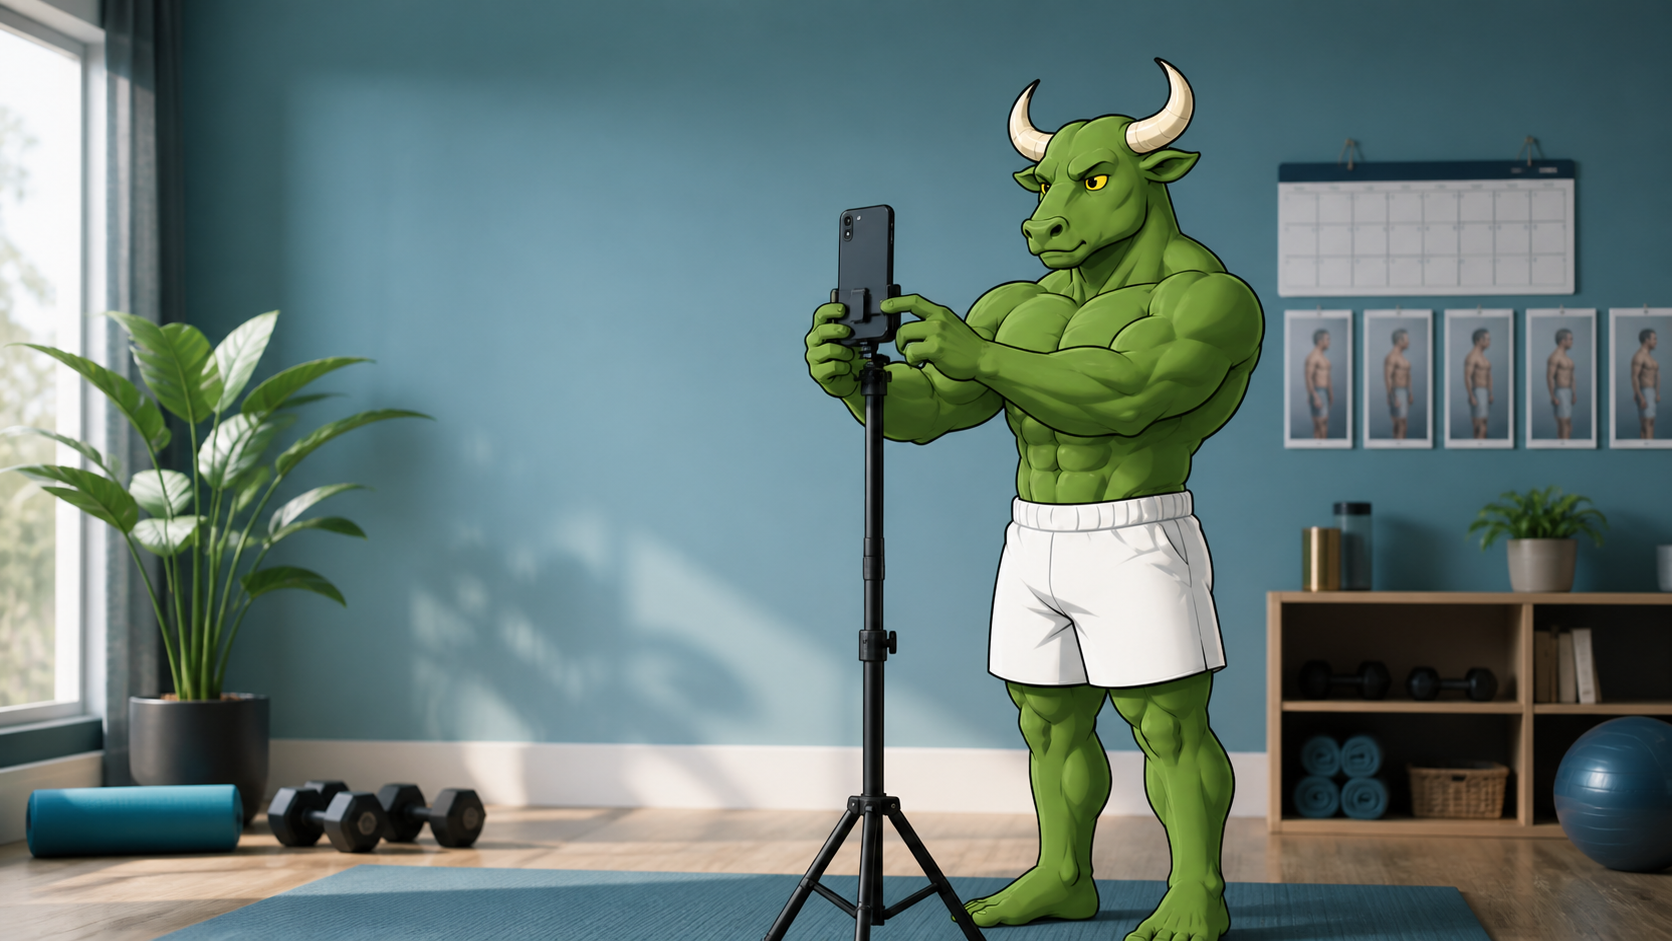
How Often Should You Take Progress Photos?
How often should you take progress photos? Use this goal-based guide to choose weekly, biweekly, or monthly check-ins and make every comparison more consistent.
Read article